
Happy Thursday everyone! As promised, today I am going to share some of my simple DIY gift-wrapping ideas. Last night, I stayed up until the wee hours of the morning wrapping Christmas presents like one of Santa’s elves, and I am so excited with how the gift-wrapping is turning out. I believe that the key to creating easy artfully-wrapped gifts at home is to stick to solid colors and simple patterns, rather than a mix of multiple patterns and designs. In the past, I have used solid colors, glitter paper, and extravagant bows (FYI the bows were not very well-received by the kiddos who complained that I made it too hard to get into their presents. So feel free to use well-knotted ribbon bows if you have curious little ones trying to sneak a peak of their gifts before Christmas! 😉 ). This year, I am keeping it simple with brown kraft paper, twine, and embellishments from the dollar store.

Gift-wrapping Toolbox
- Sharp scissors
- Invisible tape
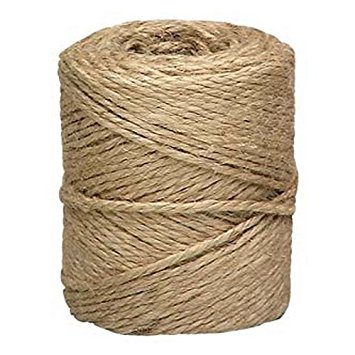
- Twine
- Brown packing paper from the dollar store
- Embellishments (I used the “2 for $1” tree embellishments from the dollar store)
- Glue dots
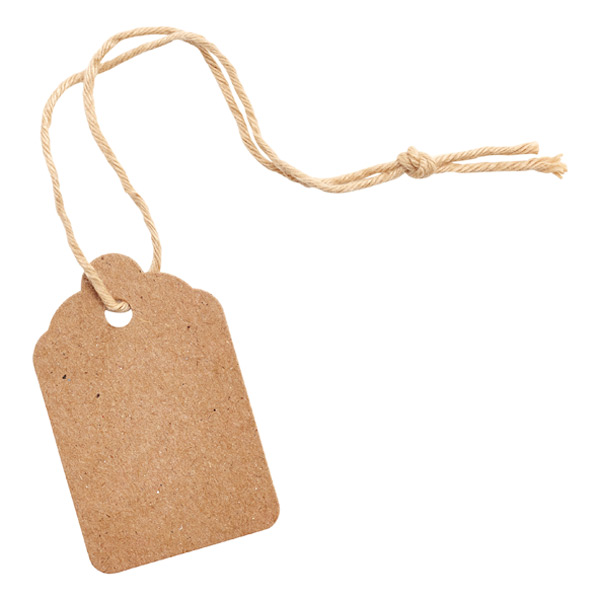
- Gift tags


After you have gathered all of your tools, the gift-wrapping is pretty straight-forward (For gift-wrapping basics, check out these easy instructions here.) I always put as many gifts as possible in rectangular boxes so that I have clean, sharp edges to wrap.
QUICK TIP: Save all of your boxes from shopping online throughout the year. That way when Christmas rolls around, you’re sure to have a variety of boxes to fit your different gifts. This will save you both time and money, I promise!
Once your gift is wrapped, cut a piece of twine that is at least 5 times the length of your gift. Center your gift on the twine with the bottom facing up. Next, bring the ends of the twine around the package and twist the ends around each other to create a “t” shape. Flip the package over and tie a quick square knot. Add your gift tag and tie a “bunny ears” bow as if you were tying your shoe. Finally, add in an embellishment of your choice by adhering a glue dot to the back of the embellishment and attaching to the gift underneath your bow.


That’s it. Super simple, inexpensive DIY gift-wrapping. Share your own DIY gift-wrapping ideas below!!

